Getting Started with RUN Game Studio: Build Your First Game
Learn to build your first game with RUN Game Studio's AI-powered tool. No coding required—just describe your idea and watch it come to life in real time.
By Run.team · June 2, 2026
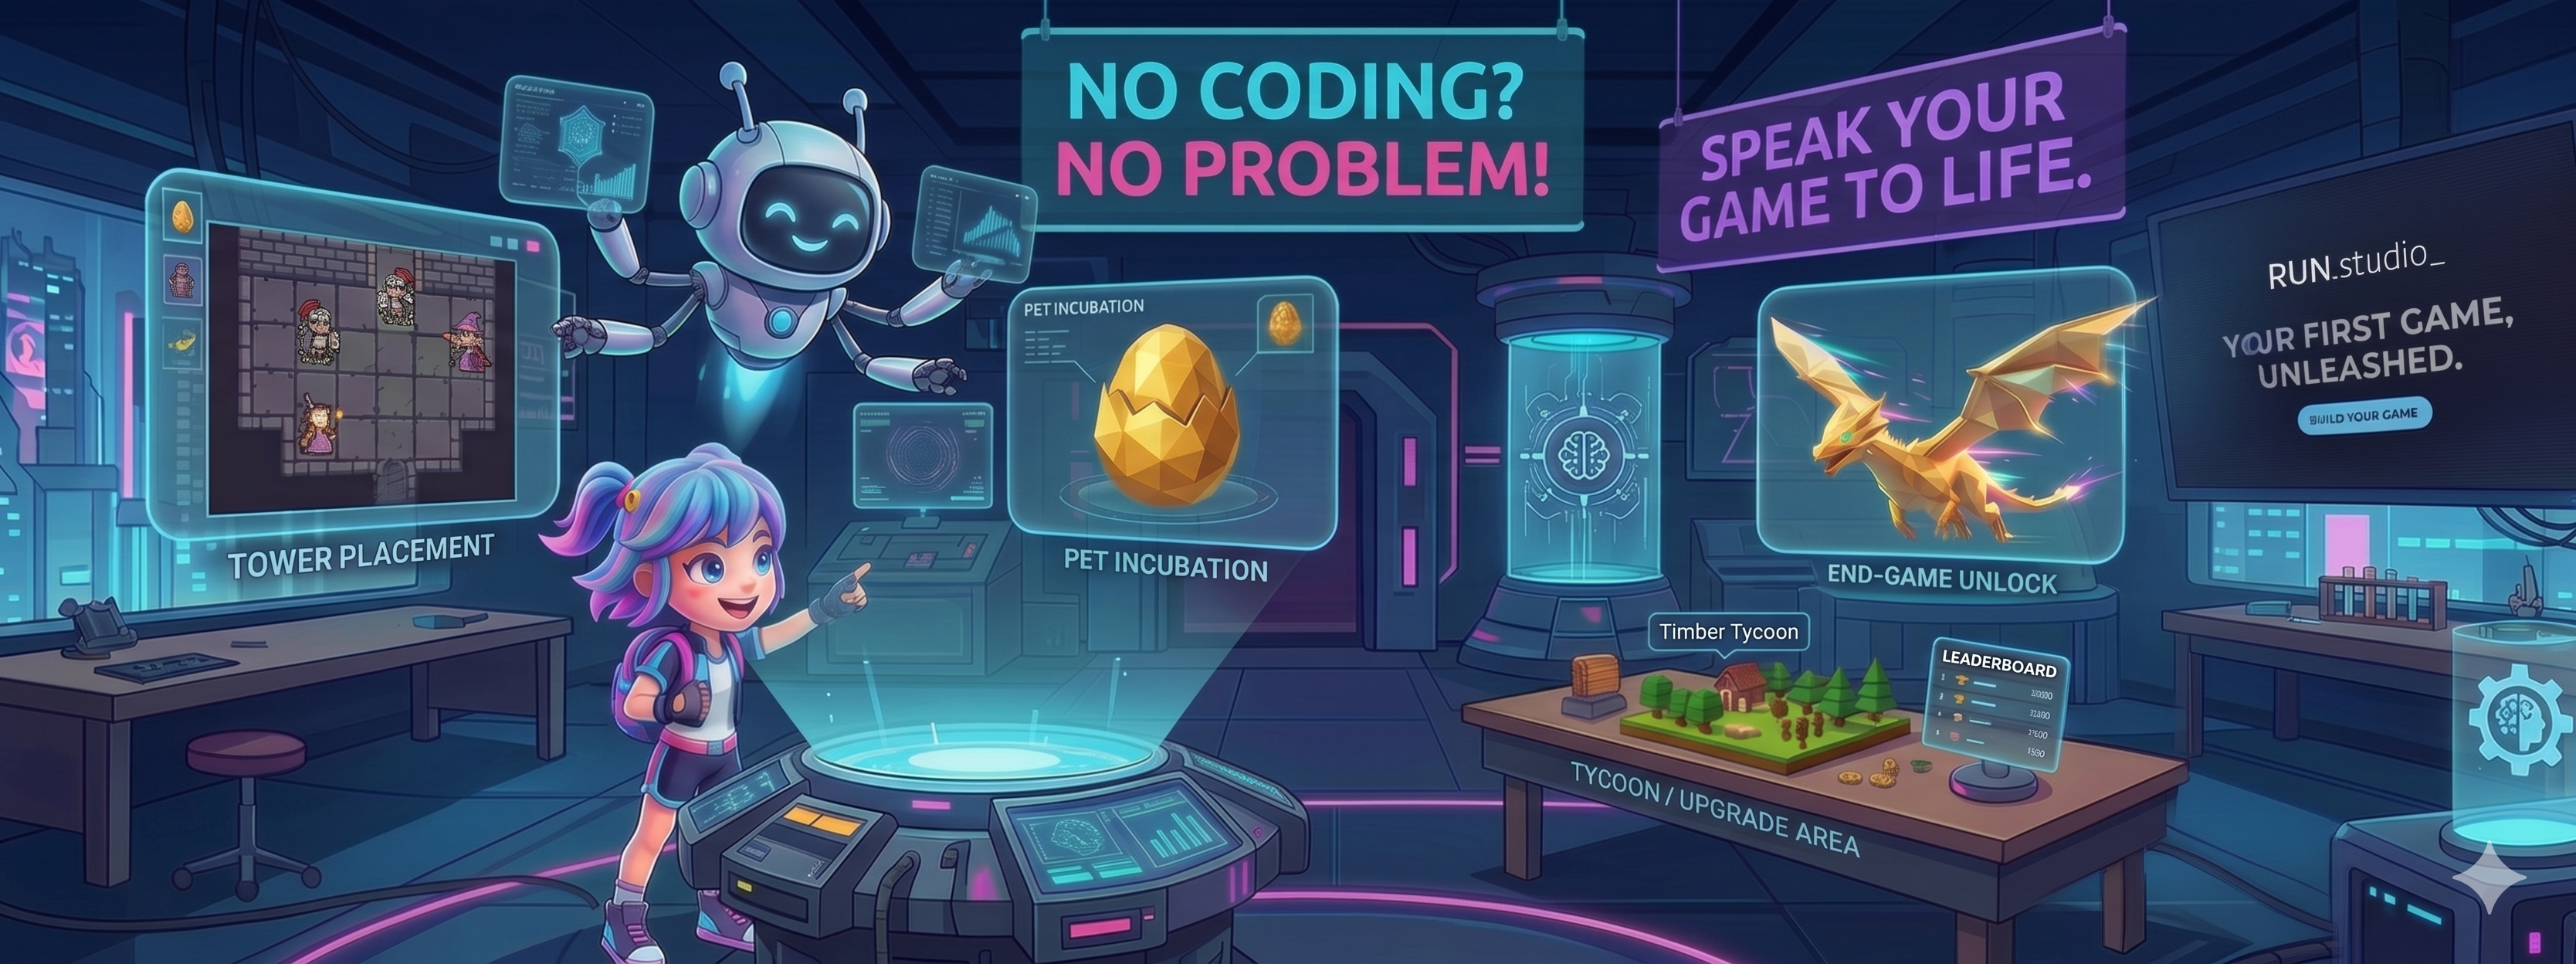
One of the foundational beliefs we share on the RUN team is that anyone should be able to make games (and content) without a massive studio, deep pockets, or years of specialized experience.
RUN Game Studio is a brand new, AI-powered tool created with this dream in mind. Now, the only qualification you need is an idea. RUN Game Studio lets you describe what you want, and our AI assistant builds it for you in real time, no coding required.
Here's how to go from zero to a published game.
Step 1: Start with an idea, but make it a real one
Open RUN Game Studio and tell the assistant what you want to build. But before you type anything, spend a few minutes thinking through the basics. The clearer you are upfront, the less backtracking you'll do later.
There are a few things we recommend thinking about before you get started:
How big is your game? A simple clicker and an RPG are completely different projects. Knowing which direction you're heading changes almost every decision that follows. If it’s your first game, try something simple to start with.
What genre are you imagining? Are you picturing a puzzle game, an idle clicker, or a full blown RPG? Whatever it is, pick one to start. You can always add complexity later but starting without a genre likely means backtracking.
Are you imagining a 3D game or a 2D one? Switching later can be a challenge, so figuring this out sooner rather than later can save some time. If you’re new to VFX, animation, and art, don’t worry: we have templates you can choose from with asset packs. More advanced creators can plug in art and animations a bit later on.
What does the game look like in your head? You don't need actual art yet, just a loose concept. Pixel art, ASCII, clean vector, hand-drawn. Even a rough idea of the aesthetic informs early decisions in ways you won't expect.
Once you have those four things, you're ready to start describing your game to the assistant. Everything else can come later. Something like this is a much stronger starting point than a vague idea:
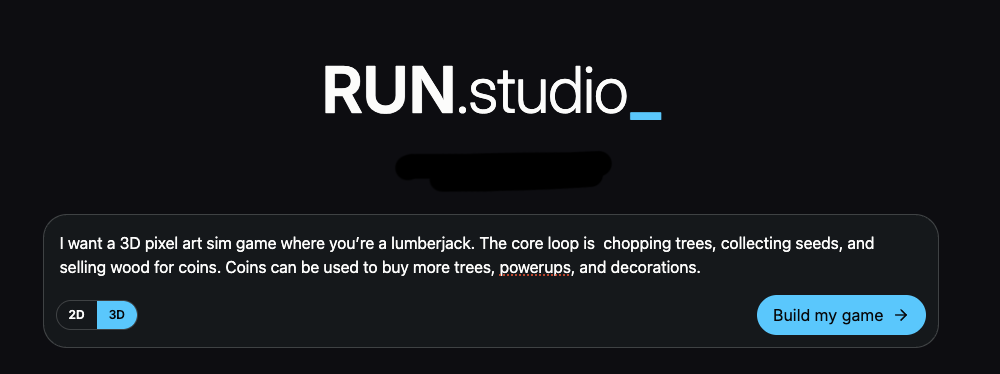
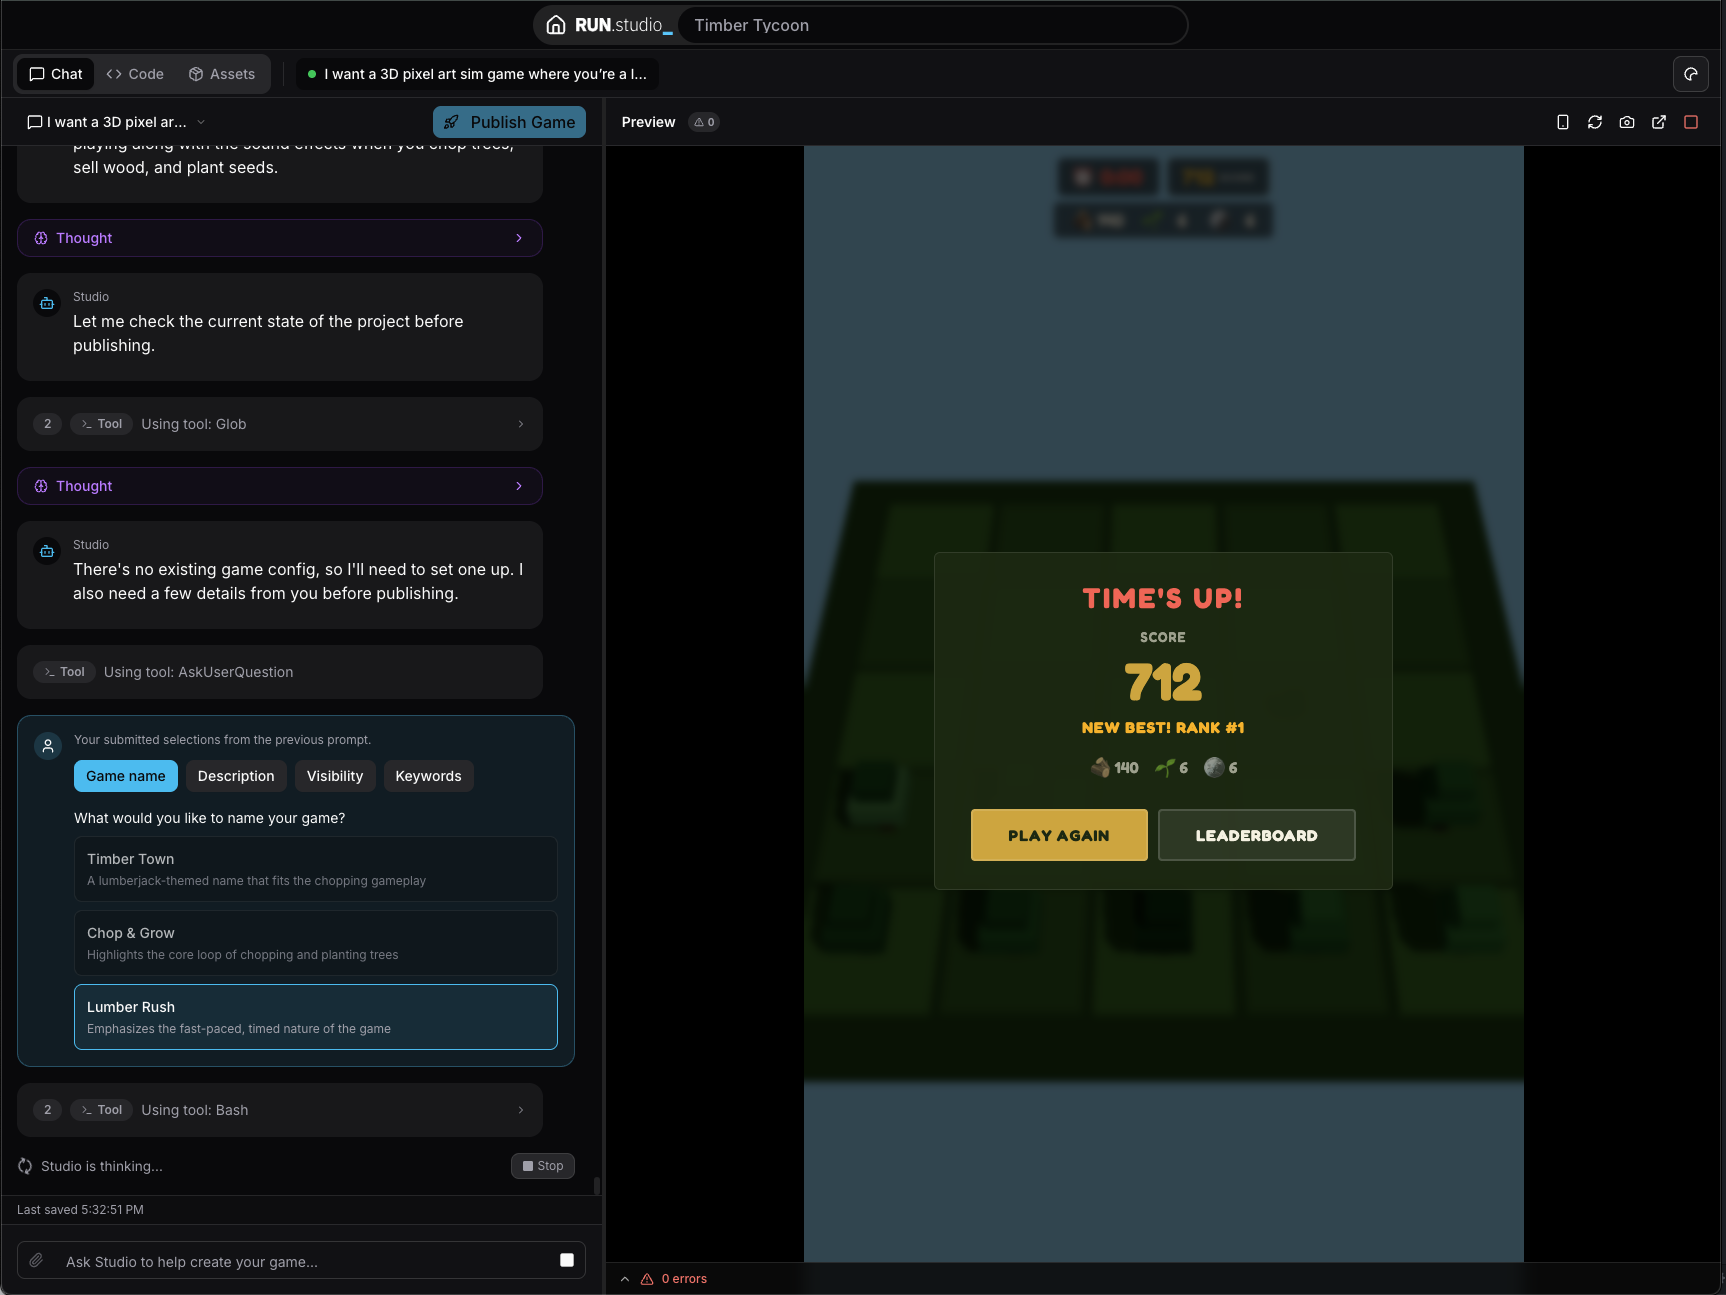
"I want a 3D pixel art sim game where you’re a lumberjack. The core loop is chopping trees, collecting seeds, and selling wood for coins. Coins can be used to buy more trees, powerups, and decorations."
That’s all the assistant needs to start bringing your vision to life.
Step 2: Build It Out
Once you have your core concept laid out, it’s time to start building! While the AI assistant can handle multiple feature requests at once, our creators have the most success when they work in chunks; they get one thing working, test it, then move on.
Start with just your core loop to begin with. If you’re new to game design, a core loop refers to the thing a player does over and over in a game. Tap, earn, upgrade. Shoot, die, respawn. Match, clear, repeat. Everything else in your game should support that one cycle.
“My core loop is: chop trees, collect seeds, sell the wood, and plant new trees to grow in your forest. Build it for me.”
After you have a working version, play test it! Does it feel right? Is it responsive? Are the tap targets big enough on mobile? Fix anything that feels off before you add the next layer:
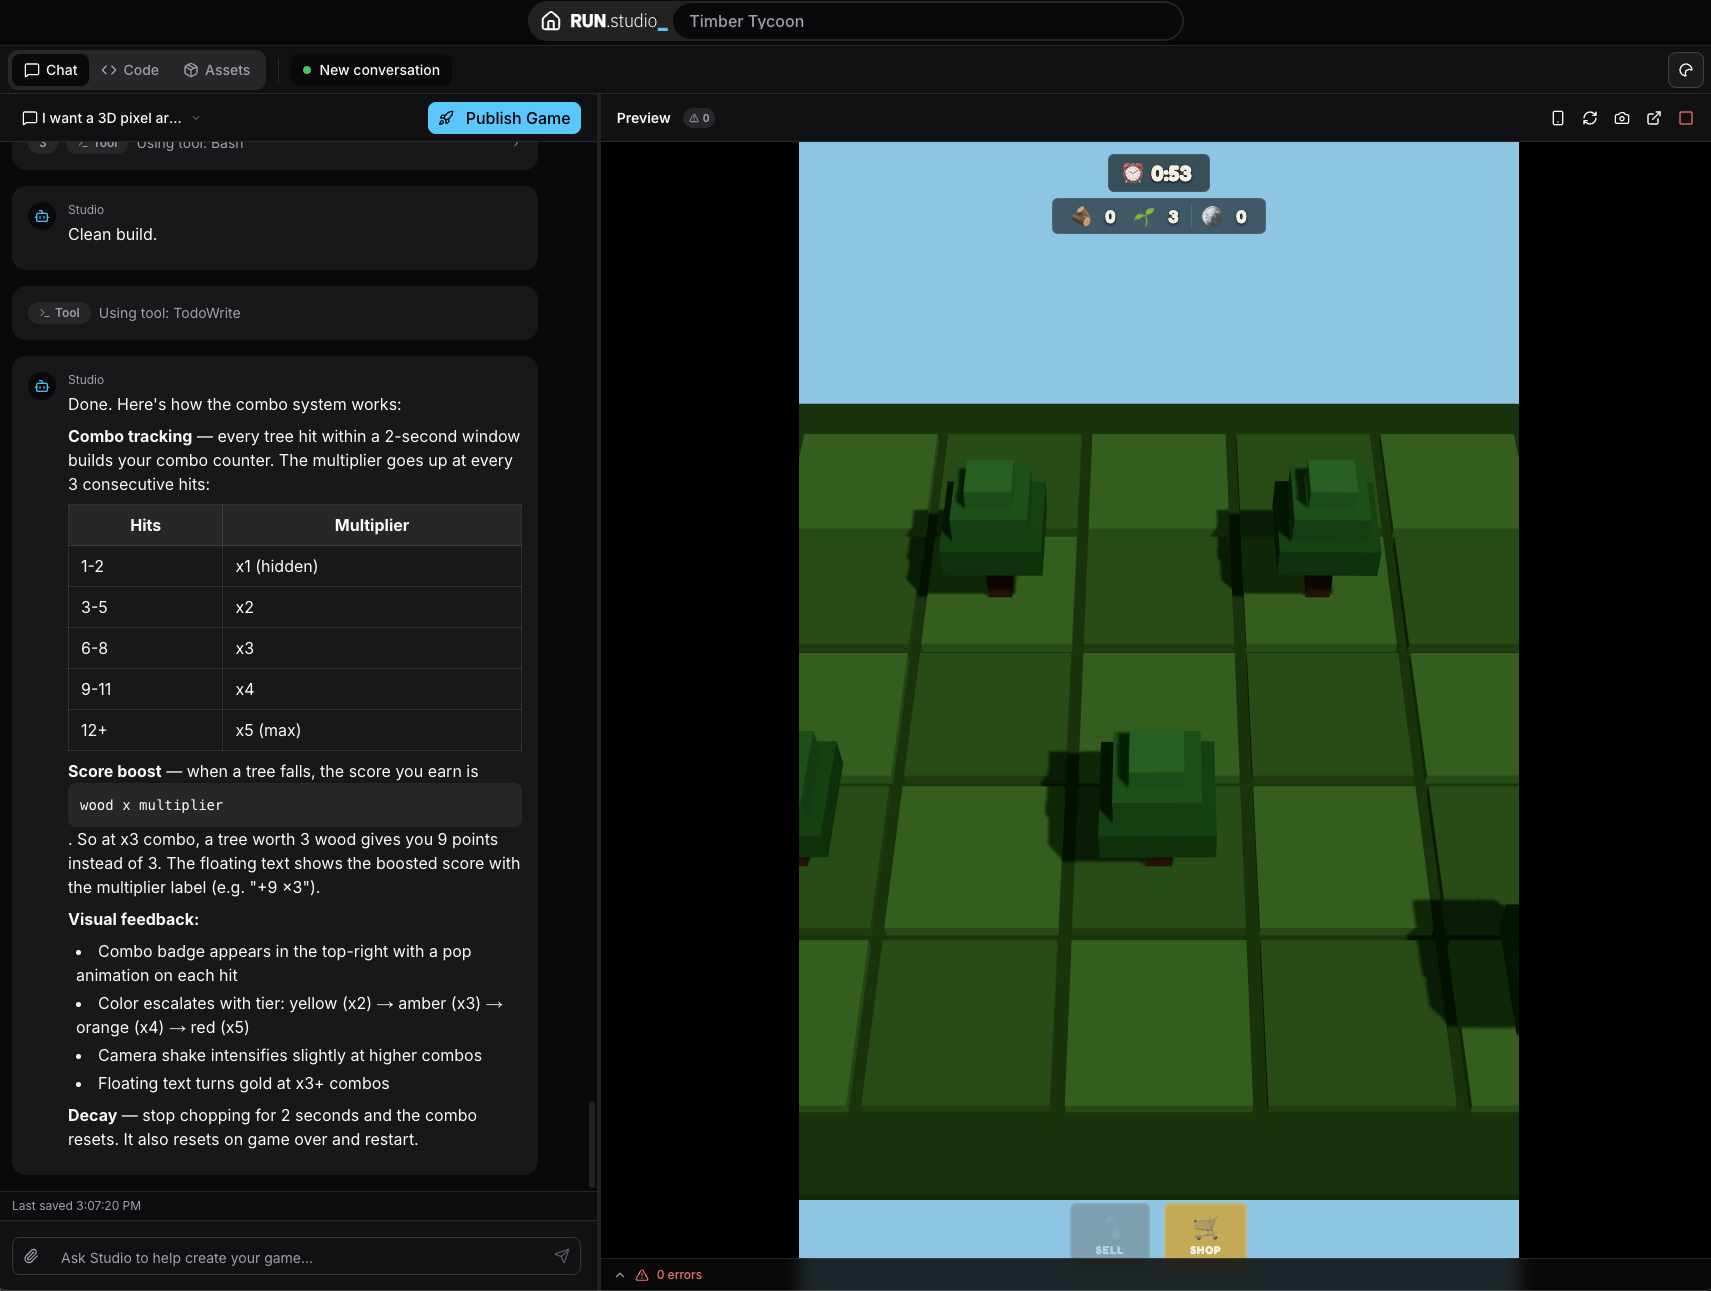
"Now add a countdown timer."
Test again. Then:
"Add score tracking with combo multipliers."
It takes a little longer to build this way, but you end up with something that feels more cohesive at the end. The “Secret Sauce" of gameplay usually comes from iterating on simple concepts. Bugs are also much easier to trace when you know exactly what changed between each test.
Step 3: Add Depth
Once your core loop is working and feels good, start layering. This is where things get fun. Same as before, you’re going to describe what you want in plan language, and the assistant will figure out implementation for you:
"Add power-ups that clear a whole row."
"I want difficulty levels, easy, medium, and hard, with faster timers and more colors."
"Let players compete for high scores."
If you're not sure what to add next, just ask:
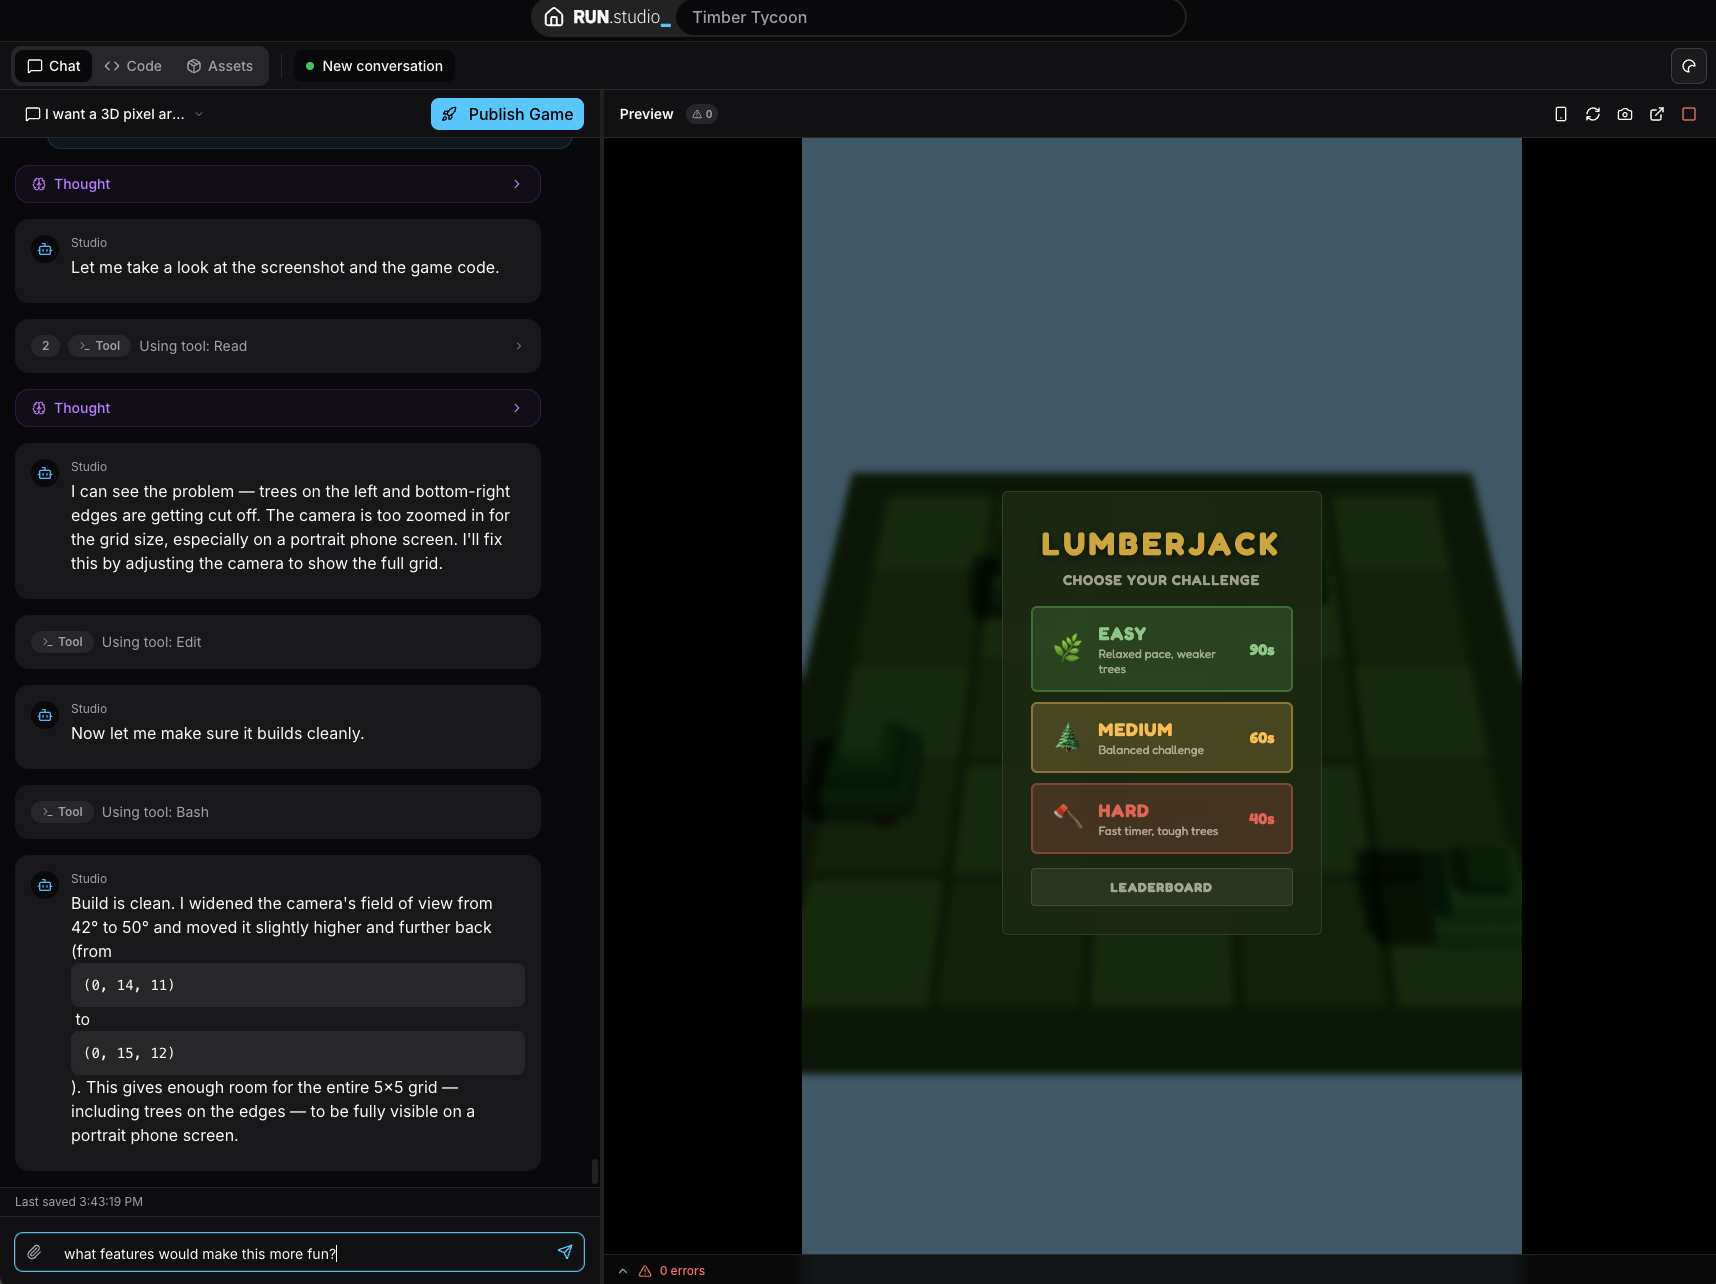
"What features would make this game more fun?" "What do other puzzle games usually have that mine is missing?"
If you're not sure what to add next, just ask. Something like "what features would make this more fun?" or "what do other puzzle games usually have that mine is missing?" works well. The assistant knows what the platform supports and can suggest what makes sense for your specific game rather than just a generic list.
This is also a good time to think back to your original scope. It's easy to keep adding things forever. If you planned a simple clicker, resist the urge to turn it into an RPG. Depth means making your core experience richer, not making a different game.
Step 4: Fix and Polish
At this point, the AI assistant has given you the core structure of your game, but you’ll need to keep refining and tweaking as you go. This is where your game goes from functional to fun!
Before we jump in though, a quick caveat: it’s normal at this point for things to start having bugs or they might just not be working the way you intended. Don’t stress, it’s straightforward to fix most bugs:
"The score doesn't reset when I start chopping a new tree. Take a look and check for any other similar errors."
Once the bugs are handled, focus on feel:
"Add a satisfying pop sound when a tree falls." "Make the combo counter bigger and add an animation when it goes up."
Small tweaks make a bigger difference than you'd expect. This back-and-forth is where a working prototype turns into something people actually want to play.
This is also the right time to layer in the elements you held off on earlier. World art, animations, and story flavor all land better once the core experience is solid. If your game has a narrative that's more decoration than mechanic, write it now and let the assistant weave it in. Same with any supporting systems that didn't make the first build, surface them here once you know the foundation is stable.
Not sure what's off but something feels wrong? Say that too:
"The game feels slow but I'm not sure why." "Something about the main screen looks off. Any suggestions?"
Remember, you don’t need to have all the answers, you just need to know what you like when you see it.
Step 5: Deploy and Share
When you're happy with your game, just say "let's publish it" or hit the Publish button. The assistant walks you through adding a thumbnail and setting up tags so players can actually find it, then submits it for review. Once it's approved by the RUN team, your game is officially live on the Explore page.
If you're not quite ready for that, you can start with an unlisted deployment of your game (just think of it like a private release). You get a shareable link, send it to a few people, get some feedback, and iterate before you go wide. It's a good habit if you plan to keep making games (and we hope you do!)
What Can You Build?
The platform handles 2D, 3D, multiplayer, leaderboards, storage, ads, in-app purchases, and more, all through conversation. People have built games like:
Card collecting and battling games with generative features
Tycoon and idle games with upgrade trees
Trivia games with AI-generated questions
Racing games with multiplayer lobbies
Pet simulators with breeding and trading
Tower Defense, Arcade classics, and more
The Key Takeaway
You don't describe how to build your game. You describe what you want your game to be. And when you don't know what you want, you ask. The assistant is there to help you figure it out, not just execute instructions.
Start with a simple idea, play-test early, and keep layering on features until you’ve spoken your game to life.
Head to RUN Game Studio and start building.
Build on RUN · Join the Discord